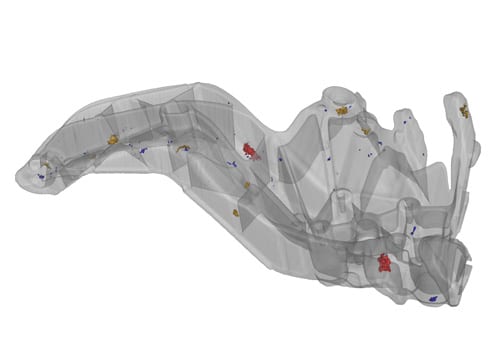
By incorporating much of the technology which has been proven by GE in the healthcare sector over four decades, a new CT system is up to 200 times faster than conventional 3D CT inspection and offers important additional quality control features, including exact 3D defect location and classification, wall thickness analysis to allow dimensional control and actual – CAD data comparison.
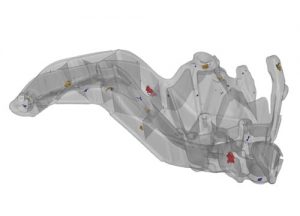 As the company reports, the 3D CT called ‘speed|scan atlineCT’ is suitable for any production line where there is a constant requirement for stringent quality control of light metal castings or composite structures but is particularly targeted at the automotive and aerospace sectors.
“The new inspection system can reduce typical scan times for an engine cylinder head from several hours with conventional fan beam CT to less than two minutes,” says Oliver Brunke, Lead CT Product Manager for the Inspection Technologies business. “This means that all of the benefits of 3D compared with 2D inspection can now be realized at the production line. These include benefits such as reduction in reject rate by analyzing position and form of defects which may be machined out by subsequent processes to prevent unnecessary failure sentencing and by accurately checking work piece geometry and dimensions, so that form and size deviations can be easily identified and corrected at an early stage of the production process. Finally, depending on their size and absorption behaviour even foreign materials like inclusions or sand core remains may be detected, located and classified according to its density and position.”
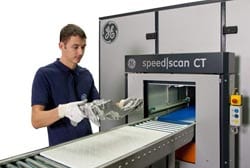 The modified GE medical scanner uses Helix multi-line technology, where a gantry with an X-ray tube and corresponding multi-line X-ray detector rotates around the work piece, which is being passed through the gantry on a conveyor belt. The work pieces are scanned at speeds of up to several millimeters per second, and are automatically assessed with the aid of company-own 3D Automatic Defect Recognition (ADR) algorithms. Inspection is carried out using a new workflow concept, where the work piece is loaded onto the conveyor belt of the system which is located adjacent to the production line. The continuous CT scan takes place and the software begins volume reconstruction and optimization. The work piece is unloaded and a new work piece placed on the belt for scanning. At the same time, 3D ADR is taking place on the first work piece volume to allow rapid sentencing. The second and subsequent work pieces then follow the same procedure.
According to GE the new inspection system can handle work pieces up 300x400x800mm in size and up to 50kg in weight and its robust design allows 24/7 operation. Its containing cabinet is suitable for industrial environments with dust protection and thermal isolation and the radiation safety cabinet offers full protective installation according to the German RÖV standard and the US 21 CFR 1020.40 standard.

