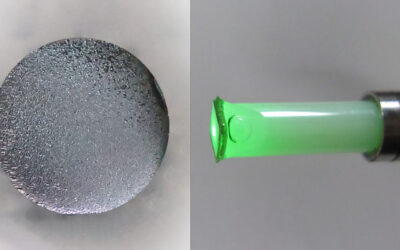
Coatings are applied to surfaces to improve surface properties, such as adhesion or wetability, scratch resistance, wear, or corrosion. In the automobile industry, coatings have to resist corrosion and mechanical damage from stone chipping. But if corrosion takes place under the coating, it cannot be seen.
Currently, no established, non-destructive, industrial-scale tool exists for tracking corrosion occurring underneath coatings. Measurement methods such as scanning Kelvin probe can analyse the corrosion progress, but with a long measurement time. However, speed, reproducibility, and the possibility to analyze large and geometrically complex surfaces are essential for industrial solutions. Due to these limitations, it is necessary to develop an objective and non-destructive method for analysing and quantifying the corrosion attack.
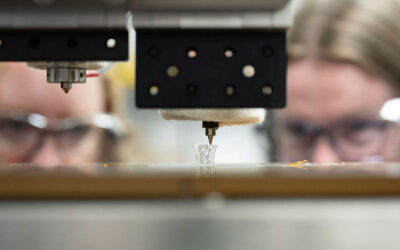
 Thus, a joint research project has been undertaken, focusing on pulsed phase thermography (PPT), a non-destructive tool to analyze inhomogeneities and defects in materials. Andreas Schönberger and co-workers from the automobile manufacturers BMW, the University of Erlangen-Nuremberg, Germany, and the Centre for Electron Microscopy Graz (ZFE), Austria, investigated PPT in cooperation with Edevis. Edevis is a German company specialising in infrared thermography for non-destructive testing and material characterisation.
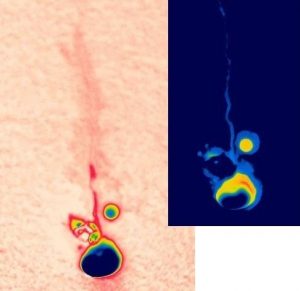
PPT is a signal processing technique well-established in areas such as delamination analysis, foreign particle detection, and adhesion evaluation. The investigated surface is excited with a flash light. The flash light creates waves with a wide range of frequencies at the same time. Low-frequency waves diffuse deeper in the materials, because of lower damping. Reflected waves from boundary surfaces return to the surface of the specimen, where an infrared camera detects the heat flux. Corrosion products and locations of weak adhesion show a higher reflection.
In the study, the researchers examined cold-rolled steel and hot-dip-galvanized steel panels with a phosphating surface treatment coated with a cathodic dip-paint (CDP). Additionally they used thick-film CDP and powder paints. Prior to exposure to the corrosion test, stone chipping defects with different geometries were applied. Algorithms reconstructed the information into a single 3D data set with accurate topographical information.
Results of measurements revealed that the pulsed phase thermography can fast and reliably monitor the corrosion progress. Furthermore, the experiments indicate that the coating thickness has only little influence on the quality of the measurement. Destructive and surface analysis verified the results of the PPT. However, there is still some research to do due to undefined errors. Nevertheless, the technique at the present stage of research, demonstrate the potential for a fast, non-destructive detection of defects sites under coatings.


