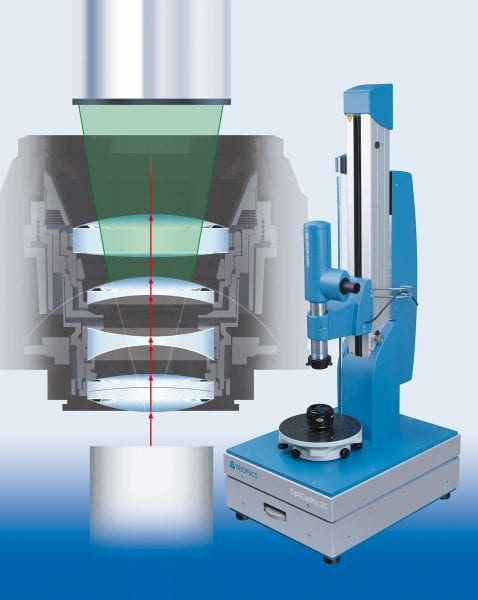
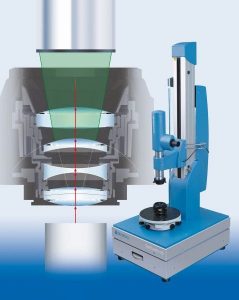
 This system provides a tool for the evaluation of complex optical systems in R&D or routine quality inspection. The two-in-one solution for the detailed investigation of assembled objective lenses combines the „OptiCentric“ centering error measurement technology with a low coherence interferometer called „OptiSurf“, measuring the air gaps between lens surfaces and the thickness of lenses within the optical system. The cross-interaction of both measuring procedures allows aligning the lens system fast and provides a significant increase of measurement accuracy and detailed quality information: Centering errors of less 0.1 µm and air spacing and thickness of less 1 µm.
The system determines the tilt and shift in x–y direction of the optical system with respect to a reference axis. The optical system under test is aligned to the measuring axis of the low coherence interferometer. Only this accurate alignment enables the interferometer to determine precisely the air gaps between lenses and lens thicknesses. After completing the thickness and air gap measurement, the real position data measured with „OptiSurf“ are transferred to the „MultiLens“ Software where they replace the design data. As a result, the accuracy of the data set containing the centering errors of the optical system measured is significantly enhanced.
TRIOPTICS GmbH
Hafenstr. 35–39
22880 Wedel, Germany
Phone: +49 (0)4103 18006-0
Fax: +49 (0)4103 18006-20
mailto: [email protected]
www.trioptics.com

